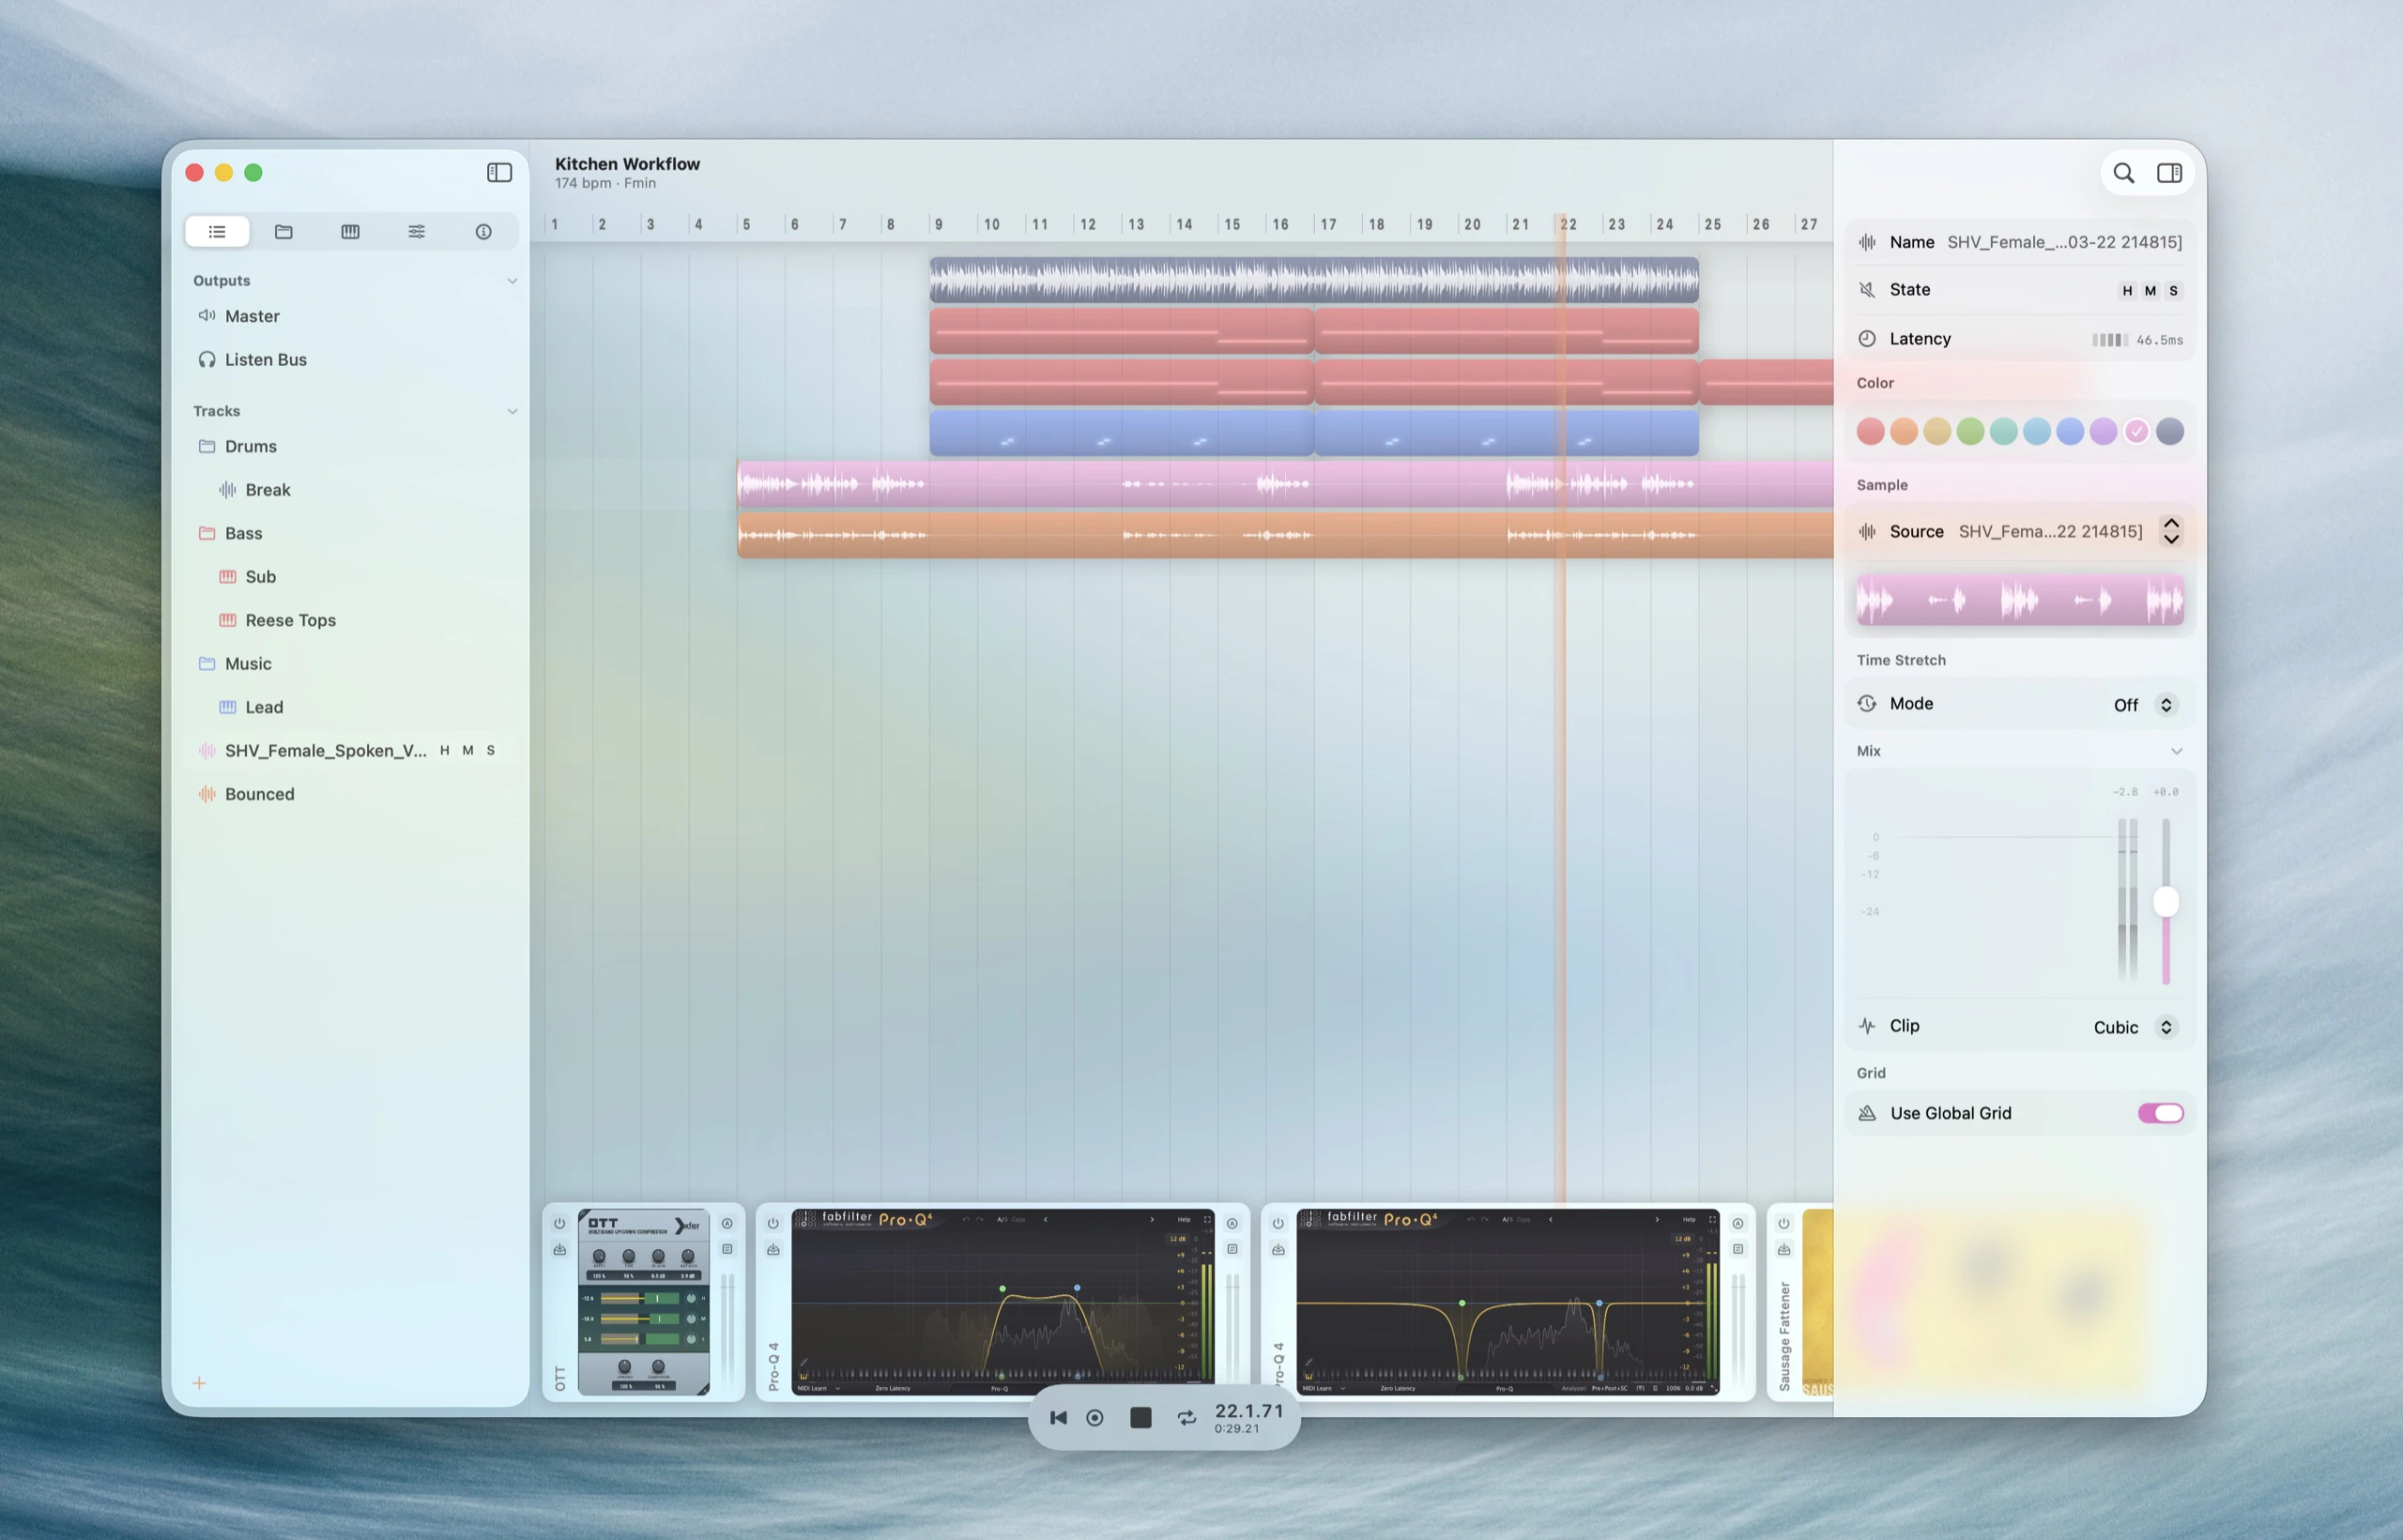
The sidebar sits on the left side of the main window and shows the track list: a hierarchical view of every track, group, and output bus in the project. It stays visible at all times — browsing samples, instruments, and effects all live in the Inspector on the right, so the track list is never covered.
The sidebar has two regions. The track list at the top holds the tracks you arrange — sample, instrument, and group tracks — and is freely reorderable. A fixed output bus list is pinned below it, holding the buses that audio flows into.
Track Types
Each row carries an icon for its type. The type also determines where the track lives and what it can do.
| Type | Lives in | What it is |
|---|
| Sample | Track list | Holds audio sample clips on the timeline. |
| Instrument | Track list | Hosts an Audio Unit instrument, played by MIDI clips. |
| Group | Track list | A sub-mix bus that contains other tracks. Shown as a folder-style header row, with no timeline row of its own. |
| Return | Output buses | A shared bus fed by sends — load an effect once and push many tracks into it. |
| Master | Output buses | The project’s final stereo output. Always present; can’t be deleted, renamed, or recolored. |
Groups
A group collects tracks into a sub-mix bus: the child tracks route their audio through it, so a group’s mix controls and effects act on the summed signal. In the sidebar a group appears as a folder-style header row with its child tracks nested beneath it.
- Group / ungroup — select tracks and press
⌘G to group them, ⌘⇧G to ungroup.
- Collapse / expand — use the disclosure triangle, or the
← / → arrow keys when the row has focus, to fold a group’s children out of the way.
- Nest — groups can contain other groups, with no depth limit.
- Move in and out — drag a track onto a group to add it, or out of one to remove it.
See Track Grouping for routing, color inheritance, and the full reference.
Output Buses
Below the track list sits the bus list — the destinations audio flows into. Returns come first, with the Master pinned at the bottom. These rows can’t be dragged into the arrangement; they’re the downstream end of the signal path.
- Returns — add one with
⌘⌥⇧T, or from the right-click menu in the track list’s empty area. New returns are named Return 1, Return 2, … and inserted just above the Master. See Returns & Sends.
- Master — the project’s final output. It’s always present and can’t be deleted or renamed.
The Master carries no Solo button — as the downstream-most node it’s always audible. Returns are full participants in mute and solo.
Working with Tracks
Each track row has inline toggles for Mute and Solo. Drag rows to reorder them or to move them into and out of groups.
A + button at the bottom of the track list adds sample or instrument tracks. Right-click a row for Duplicate Track and Delete Track.
The Search field at the top opens the Command Palette (⌘K) — the fastest way to run any command or jump to a track.
The track list follows the macOS sidebar icon size preference; choosing Small, Medium, or Large updates row height, icon sizing, and text density together.
Shortcuts
The keys most useful while working in the sidebar are below. The Global Shortcuts reference has the complete grid, including track and inspector-tab focus.
| Action | Shortcut |
|---|
| Add sample track | ⌘T |
| Add instrument track | ⌘⇧T |
| Add return track | ⌘⌥⇧T |
| Group / ungroup selected tracks | ⌘G / ⌘⇧G |
| Collapse / expand group | ← / → |
| Extend selection up / down | ⇧↑ / ⇧↓ |
| Search / Command Palette | ⌘K |
Last modified on June 7, 2026