The inspector is the panel on the right side of the main window. A row of tabs in the toolbar switches what it shows, while the Sidebar keeps the track list in view the whole time.
It has five tabs, switchable from the toolbar or with the keyboard (⌘1–⌘5) — each shortcut also opens the inspector if it’s hidden:
- Tracks — settings for the selected track
- Browser — audio sample file browser
- Instruments — installed Audio Unit instruments
- Effects — installed Audio Unit effects
- Project — project settings, tasks, and version history
Tracks
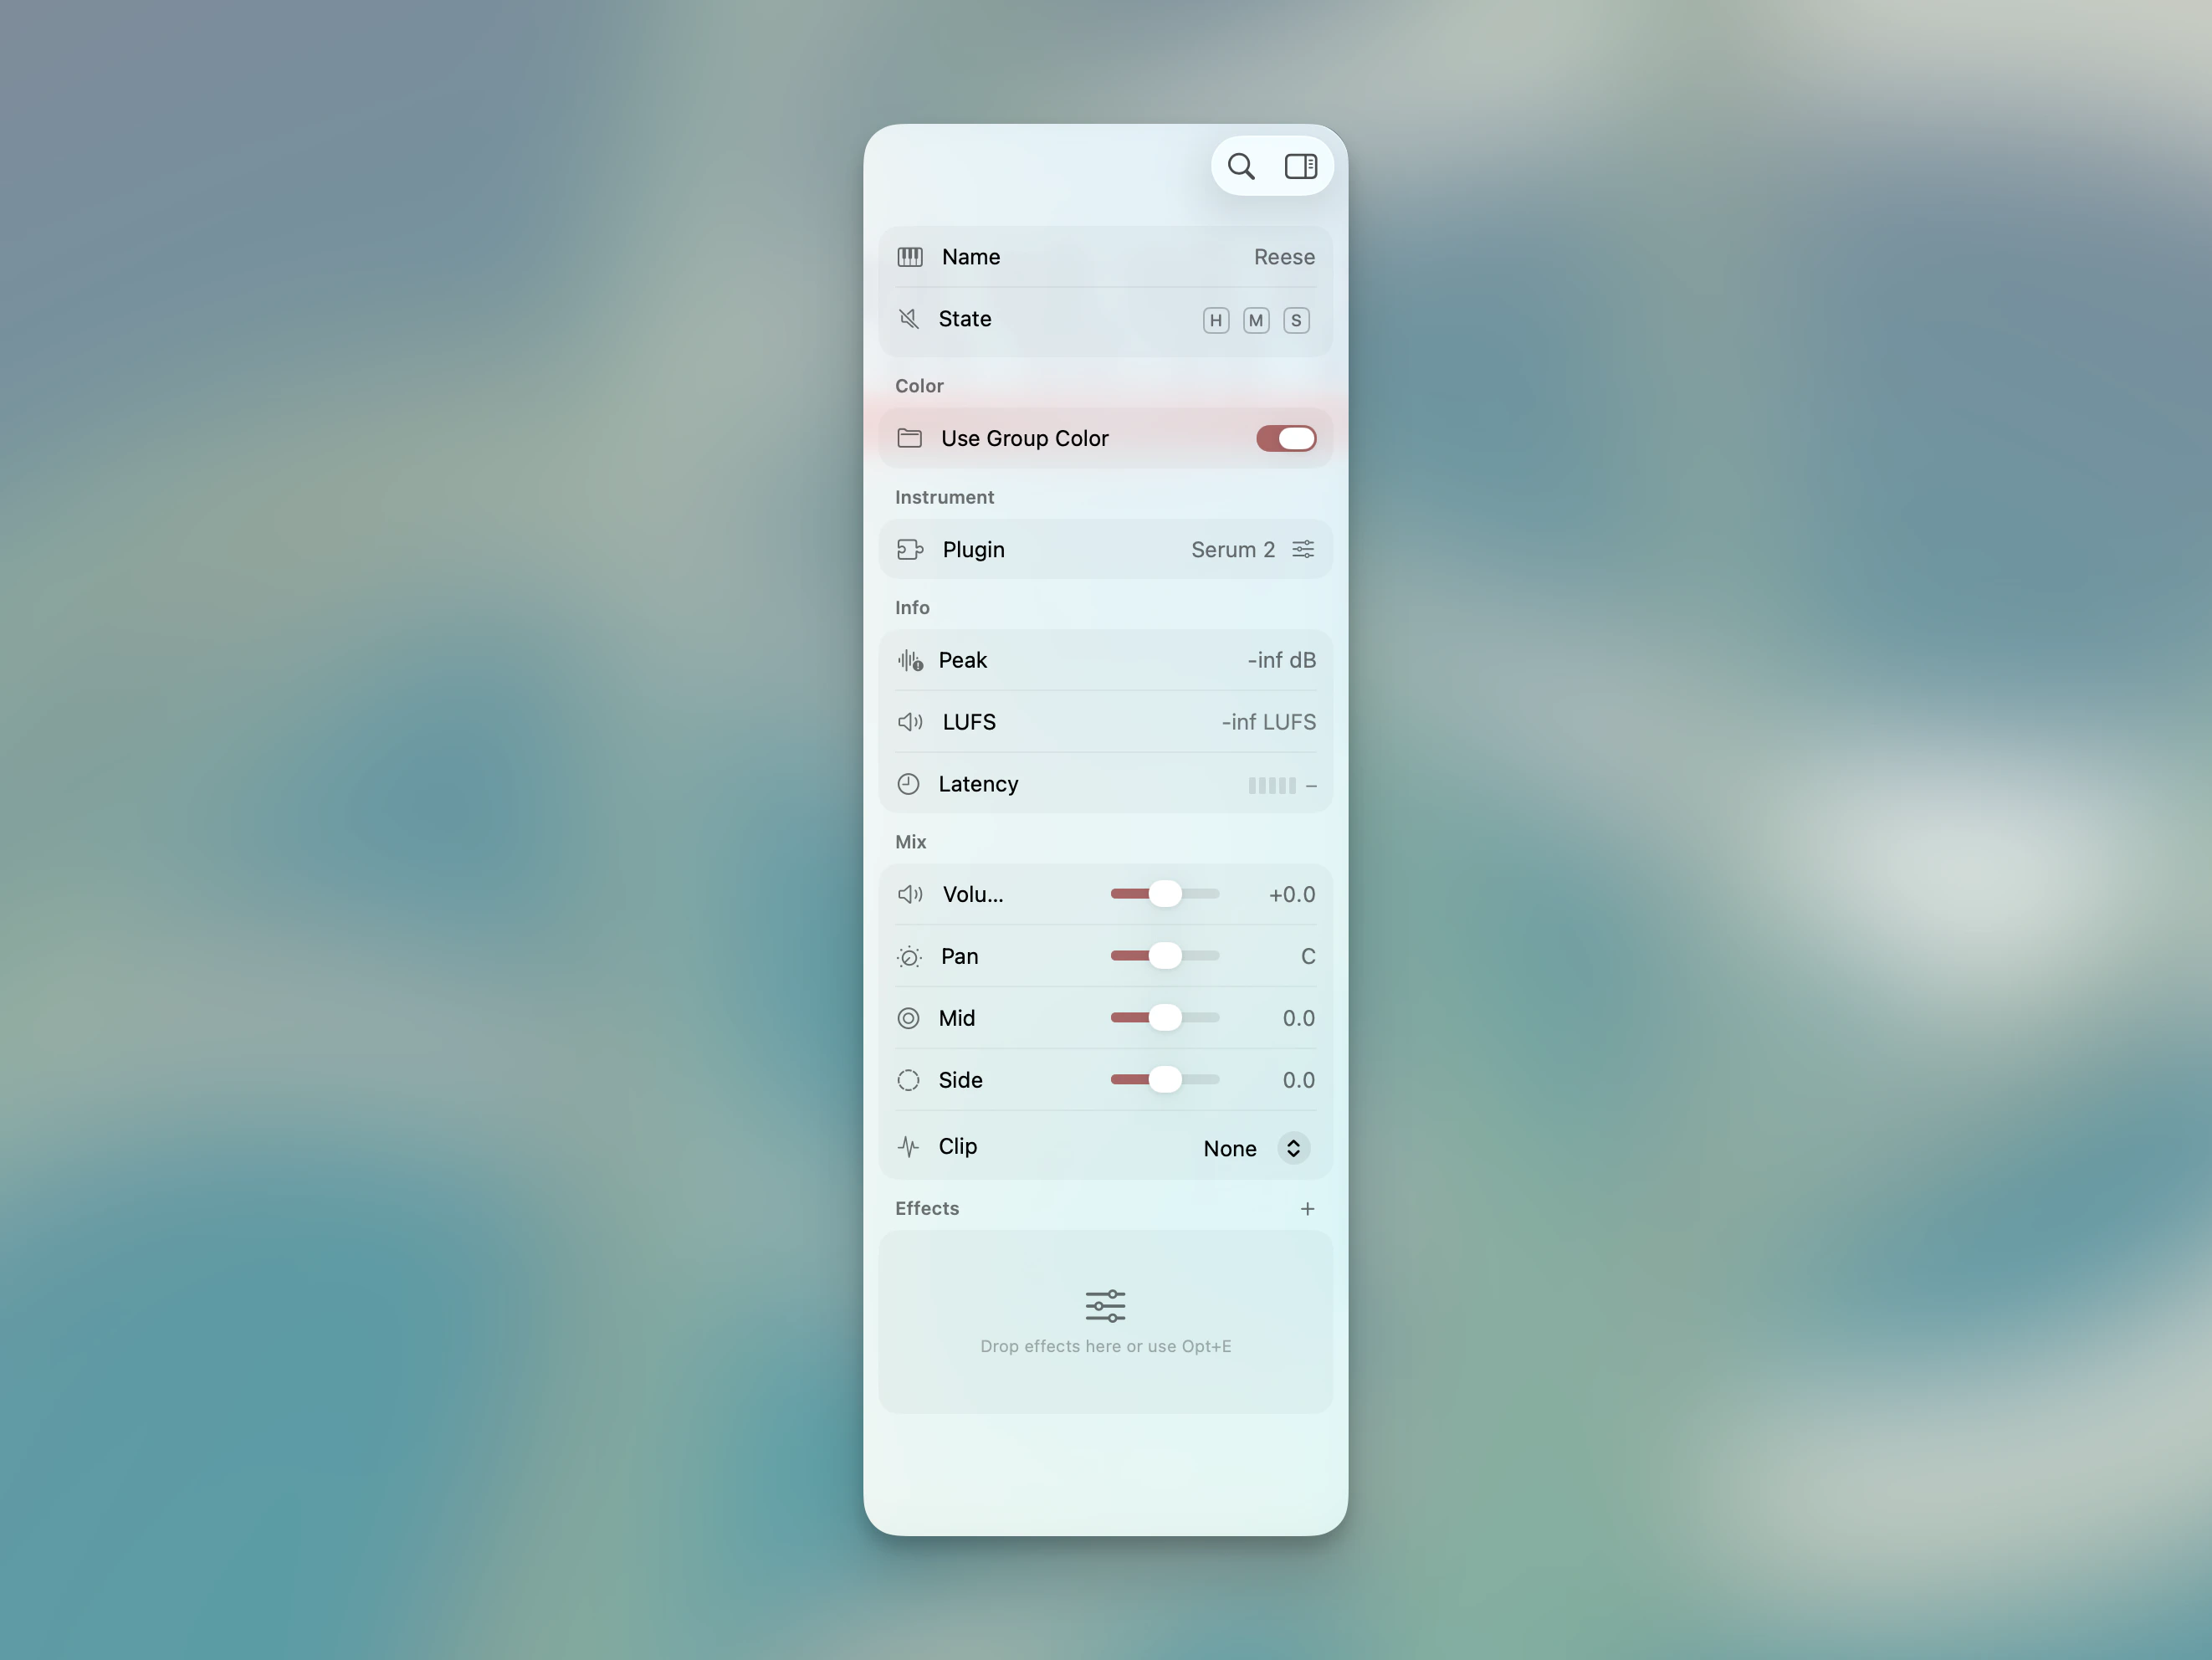
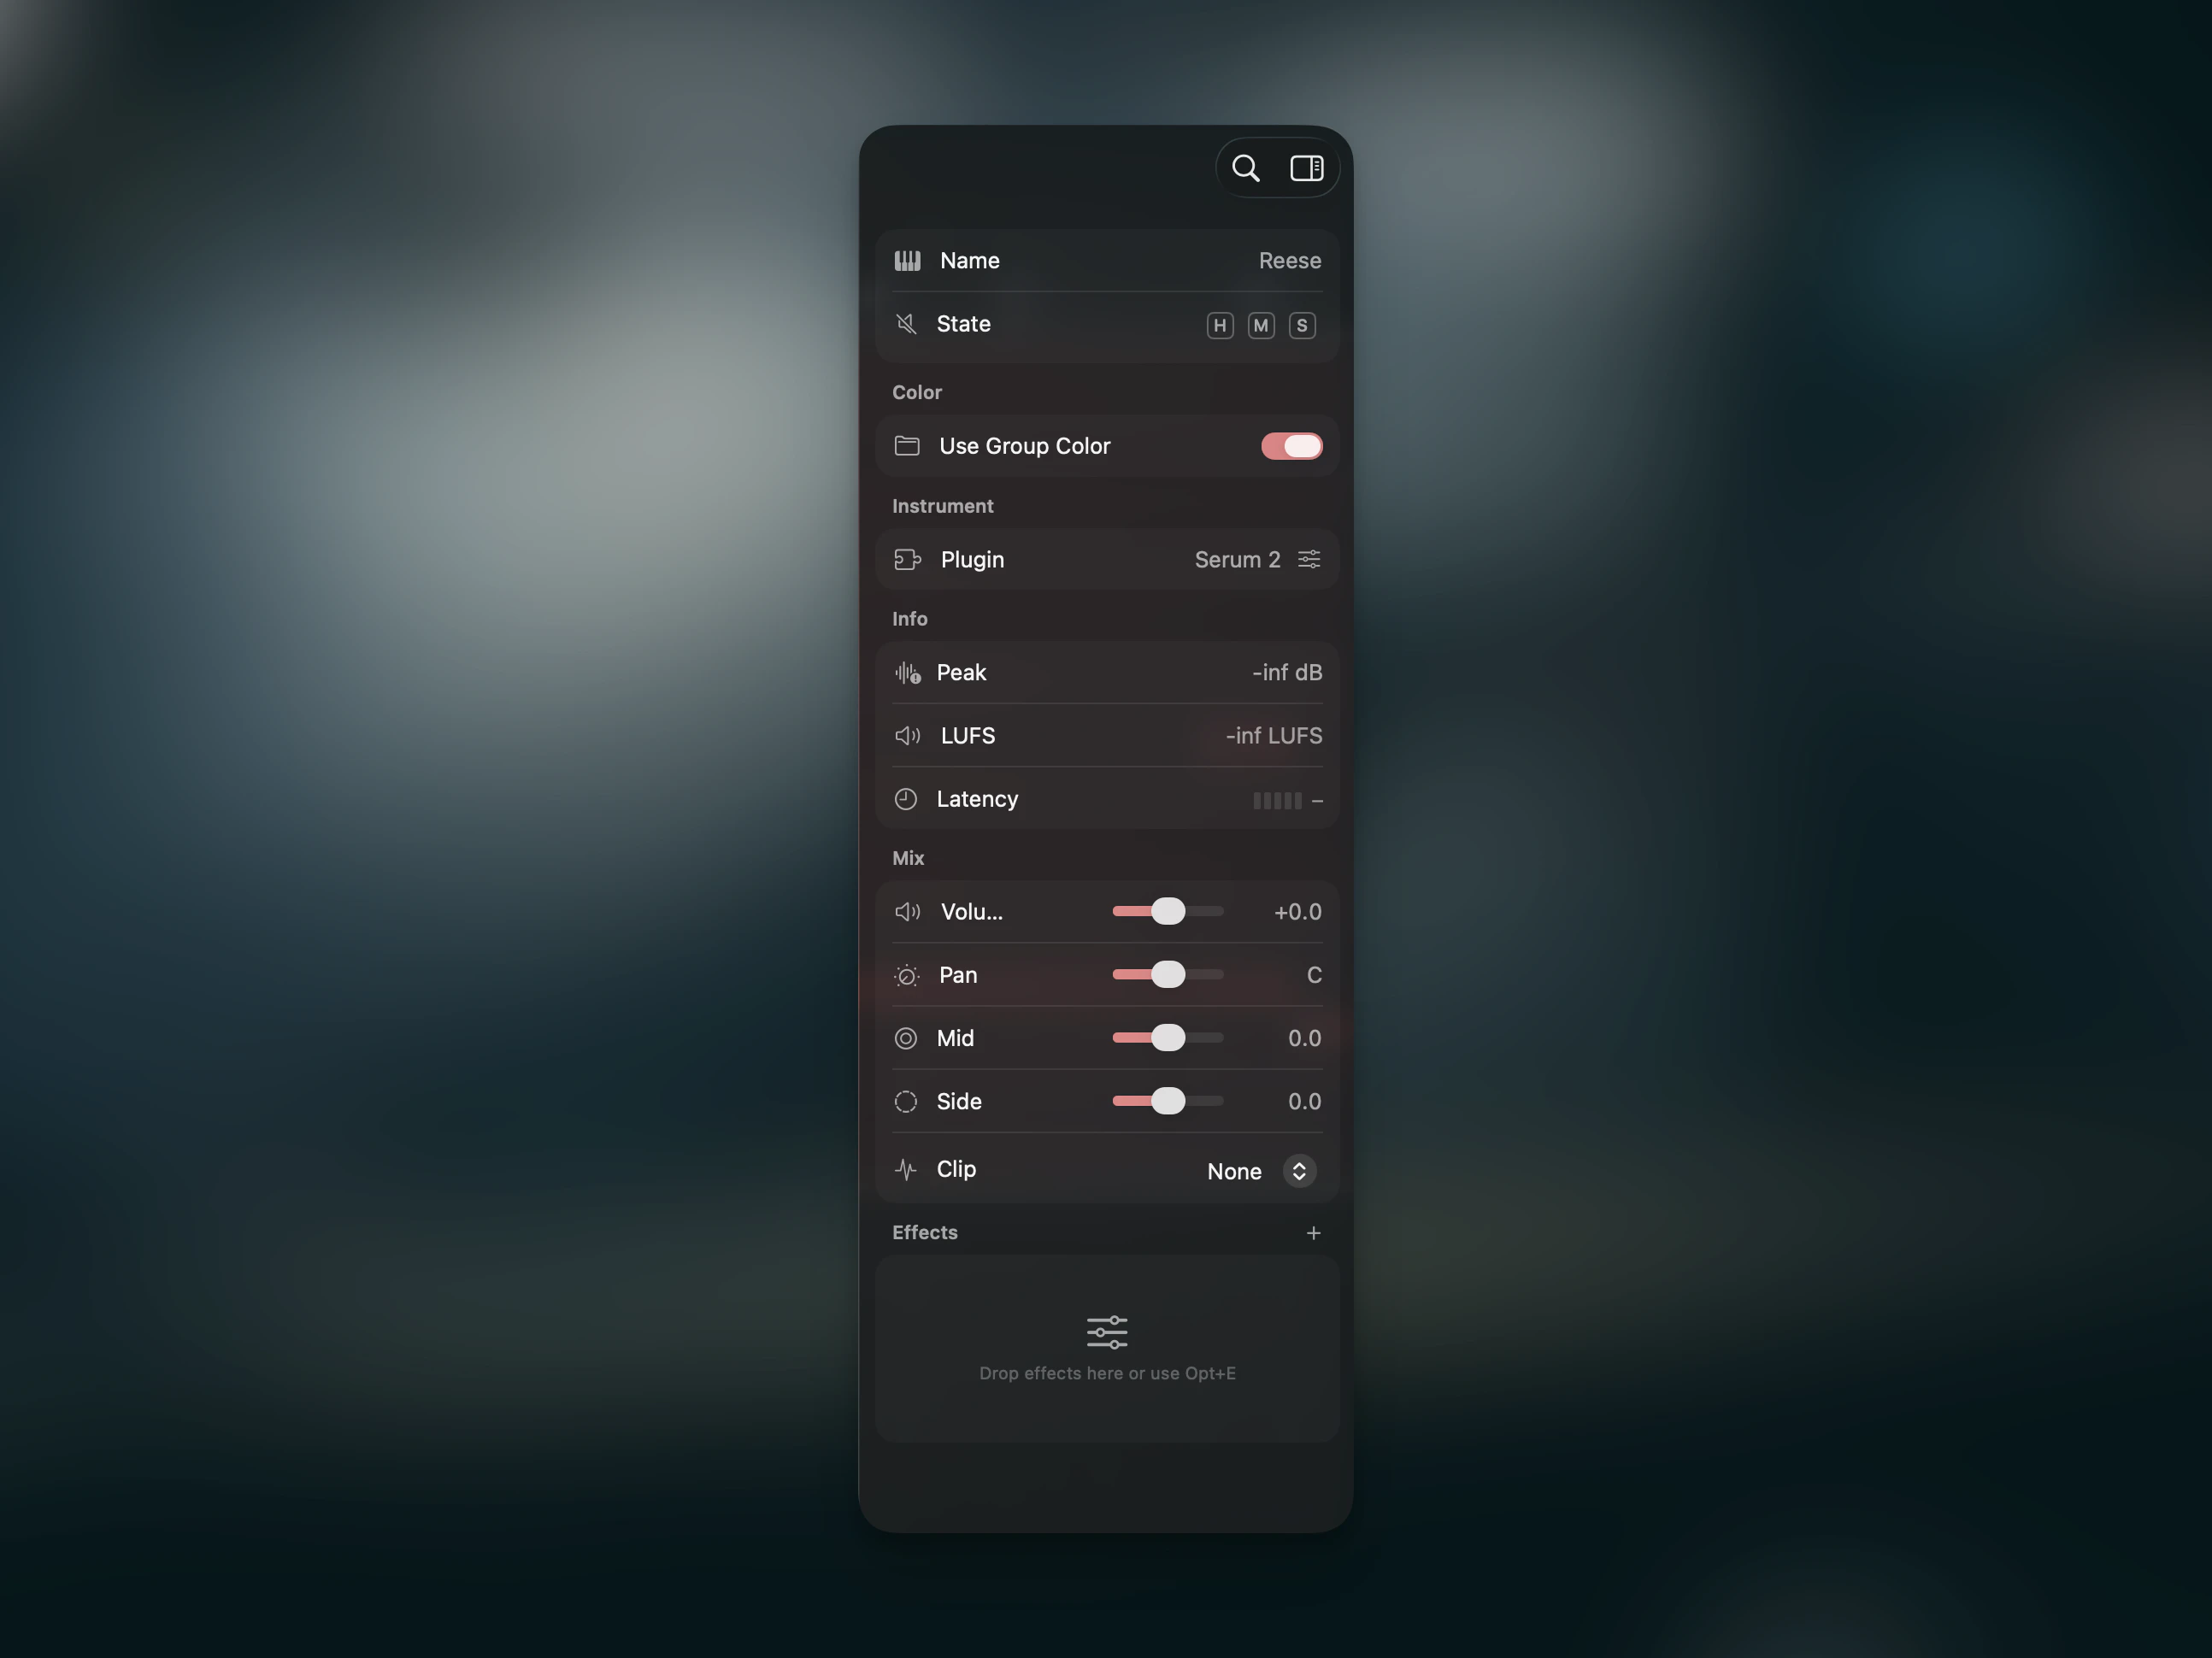
Select a track to open its settings in the Tracks tab. The sections from top to bottom:
Track Properties
The track name (double-click to rename), plus toggles for Mute and Solo. If the track has plugin-induced latency, a latency indicator shows the total PDC delay in milliseconds.
Color
A 12-color palette for the track. If the track belongs to a group, a Use Group Color toggle appears — when enabled, the track inherits the group’s color.
Source
Shows the assigned audio sample or Audio Unit instrument.
For sample tracks with transient markers:
| Control | Description |
|---|
| BPM | Detected or overridden source tempo (editable via stepper) |
| Slices | Number of detected slices |
| Decay | Envelope decay applied to all slices |
⌥X).
For instrument tracks, the loaded Audio Unit instrument is shown with its interface. Hold ⌘ and drag on its controls to adjust them in place without opening the full window — the same goes for MIDI-effect cards. See Direct Plugin Interaction.
Mix
Signal history visualization, stereo metering, volume fader, pan, mid/side processing, clipper/limiter, and mono-below frequency control. The section is collapsible. See Mix Controls for the full reference.
Sends
On sample and instrument tracks, the Sends section lists one row per Return track in the project. Drag a row’s slider above 0 to route the track into that return.
On a Return track, an Incoming Sends section appears instead, mirroring the rows from every source currently feeding the return. See Returns & Sends for the full reference.
Grid
Per-track groove settings. By default tracks follow the global groove. Disable Use Global Grid to assign the track its own groove template and amount. See Groove & Swing for details.
Browser
A file browser for audio samples. Add folders via the Command Palette → “Add Sample Folder”. The browser shows your favorite folders as an outline view.
Click a file to preview it. Drag one or multiple files onto the timeline to import them as new tracks.
For keyboard-driven search across every indexed folder — plus Smart Search and live sample swapping during playback — see the Sample Library page. Instruments
Lists installed Audio Unit instruments in collapsible categories, including Favorites and Other. Drag an instrument onto an instrument track to load it.
You can drag instruments within a category to reorder them, or drop them onto another category header to move them there. The context menu lets you create categories and assign a plugin without dragging.
Plugins are scanned on first launch — use “Scan All Plugins” from the Command Palette to rescan.
Effects
Lists installed Audio Unit effects in the same category-based browser. Drag an effect onto the Plugin Strip to add it to a track. Saved presets are shown under their respective plugin.
Effects can be drag-reordered within a category and moved across categories by dropping them onto another category header.
Plugin categories live at the app level, not per project, and sync across your Macs via iCloud. See Plugin Categories for how to create, rename, reorder, and assign categories. Project
Global project settings and metadata:
| Section | Content |
|---|
| Info | Project cover artwork, editable title, and workflow status |
| Audio | Sample rate |
| Key & Scale | Root note and scale type for Musical Typing and MIDI generation |
| Grid | BPM, groove template and amount |
| Tasks | Per-project task list with checkboxes |
| Versions | Version history with audio previews |
Info Section
The Info section at the top of the Project tab combines the project artwork, an editable title field, and the workflow status picker into a single group. The title defaults to the project file name and updates the window title as you type.
The status picker tracks where a project sits in your workflow. Choose from five stages:
| Status | Description |
|---|
| Draft | Initial ideas and sketches |
| Flesh Out | Building out the arrangement |
| Polish | Mixing and fine-tuning |
| Released | Final, published version |
| Archived | No longer active |
⌘P) groups all your iCloud projects by status, so you can see at a glance what needs attention.
Shortcuts
The keys for opening inspector tabs and the editors they link to are below. The Global Shortcuts reference has the complete grid for tabs and focus areas.
| Action | Shortcut |
|---|
| Show inspector tabs | ⌘1–⌘5 |
| Project Overview | ⌘P |
| Edit Sample | ⌥X |
Last modified on June 27, 2026