Track model
Each track has a single sound source — either an audio sample or an Audio Unit instrument — followed by an effects chain. One source, one chain, one output. Groups act as summing buses for their child tracks. They appear in the sidebar track list but not as rows in the timeline — only tracks that contain clips are shown.Zoom levels
The timeline uses three fixed vertical zoom levels instead of free zoom: Normal (the default track height), Compact (⌥↑) for an arrangement overview at minimal height, and Focus (⌥↓) where a single clip expands for detailed editing.
Focus Mode
Double-click a clip or press⌥↓ to enter Focus Mode. This opens inline editing for the piano roll, audio slice playback, and automation curves. Press Escape or ⌥↑ to return to the arrangement view.
Looping
A loop region repeats a section during playback. Toggle looping with⌘L. Use ⌘⇧L to enable looping and zoom to the selected region. Looping is also used for loop recording.
Clip creation and deletion
Double-click an empty area of a track to drop a new clip there — an empty 4-bar MIDI or automation clip, or the track’s sample at its natural length. It stays in the arrangement view (no Focus Mode), mirroring double-click-to-create-a-note in the piano roll.Enter does the same at the edit cursor on the selected track. Mark a range first (drag across an empty area) and Enter sizes the new clip to exactly that range — on MIDI and automation tracks it makes an empty clip that wide, and on a sample track it trims the source to the range.
⌘+click creates or stamps clips and supports drag-to-size:
Drag after a
⌘+click to set the clip duration. New MIDI clips created with ⌘+click automatically enter Focus Mode for immediate editing.
Right-click a clip to delete it. Right-click and drag to erase multiple clips in one gesture.
Linked Clips
Duplicating a clip with⌘D (or stamping one with ⌘+click) keeps it linked to the original — editing the notes, the sample, the fades, or the gain on any copy updates them all. Use ⌘⇧D to duplicate it unlinked instead. See Linked Clips for the full behavior.
Clip gain and normalize
Every audio clip carries its own gain value, independent of the track fader. Select one or more clips and press a number key to set the gain relative to that clip’s own peak —0 normalizes (peak reaches 0 dBFS), 1–9 scale that normalized peak down in 10 % steps, and the key left of 1 mutes.
Because each clip is measured independently, a mixed selection ends up at matching levels instead of sharing one global gain. MIDI clips are skipped. Time-stretched audio is measured across the full source span that actually plays, so sped-up drum loops normalize correctly. Boost is capped at +24 dB to keep very quiet tails from being amplified into walls of noise.
Mute uses a dedicated flag, so unmuting restores the previous gain value.
The number row does double duty: with no clip selected (or while recording) the same 1–0 keys retrigger and record the last note or slice you played at the chosen level. See Number-Key Dynamics.
This is separate from Normalize Track Volume (
⌥N), which sets the track fader using live playback peak data. Track normalize needs playback to have happened; clip normalize measures the source file directly and works without playing first.Solo dimming
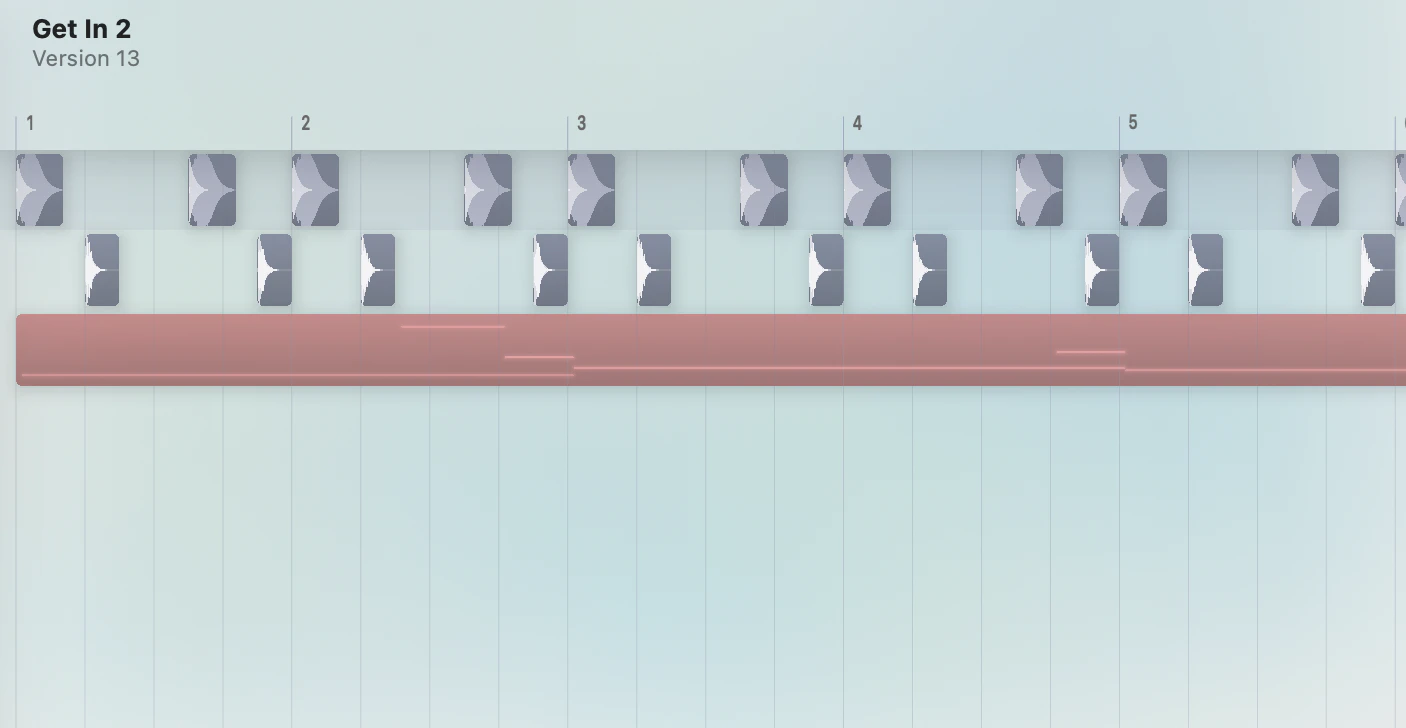
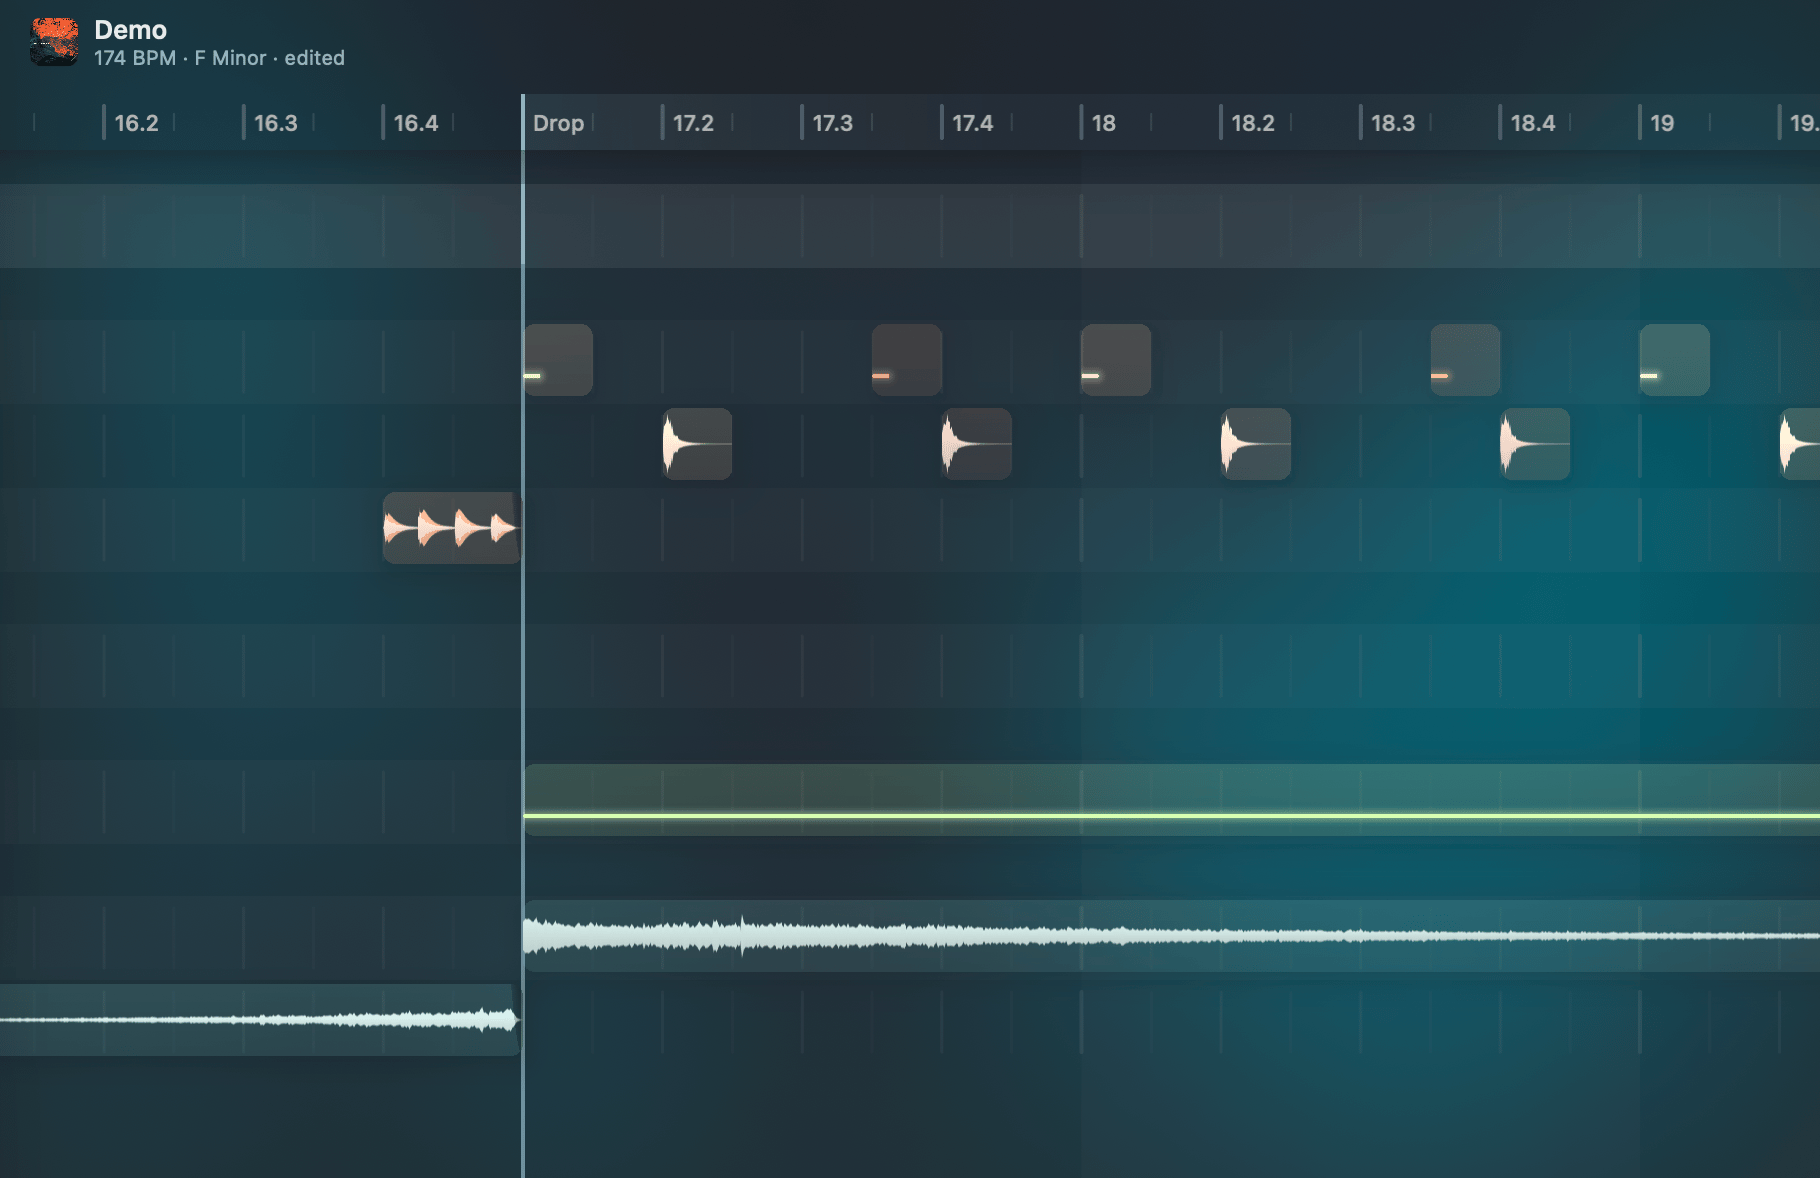
When any track is soloed, non-soloed tracks are visually dimmed in the timeline. This makes it easy to see which tracks are active at a glance. The dimming applies to both clips and waveforms — soloed tracks keep their full brightness while everything else fades back.Grid and snapping
The grid resolution adapts to the horizontal zoom level. All operations snap to the grid by default. HoldOption while dragging for half-step precision.
Groove
A groove template shifts the timing grid to create swing or shuffle feels. Configure groove in theProject inspector tab (⌘5) under Grid:
- Template — 38 presets across categories: Swing, Triplet, Hip-Hop, Funk, Breakbeat, and Complex
- Amount — 0–100% intensity of the groove offset