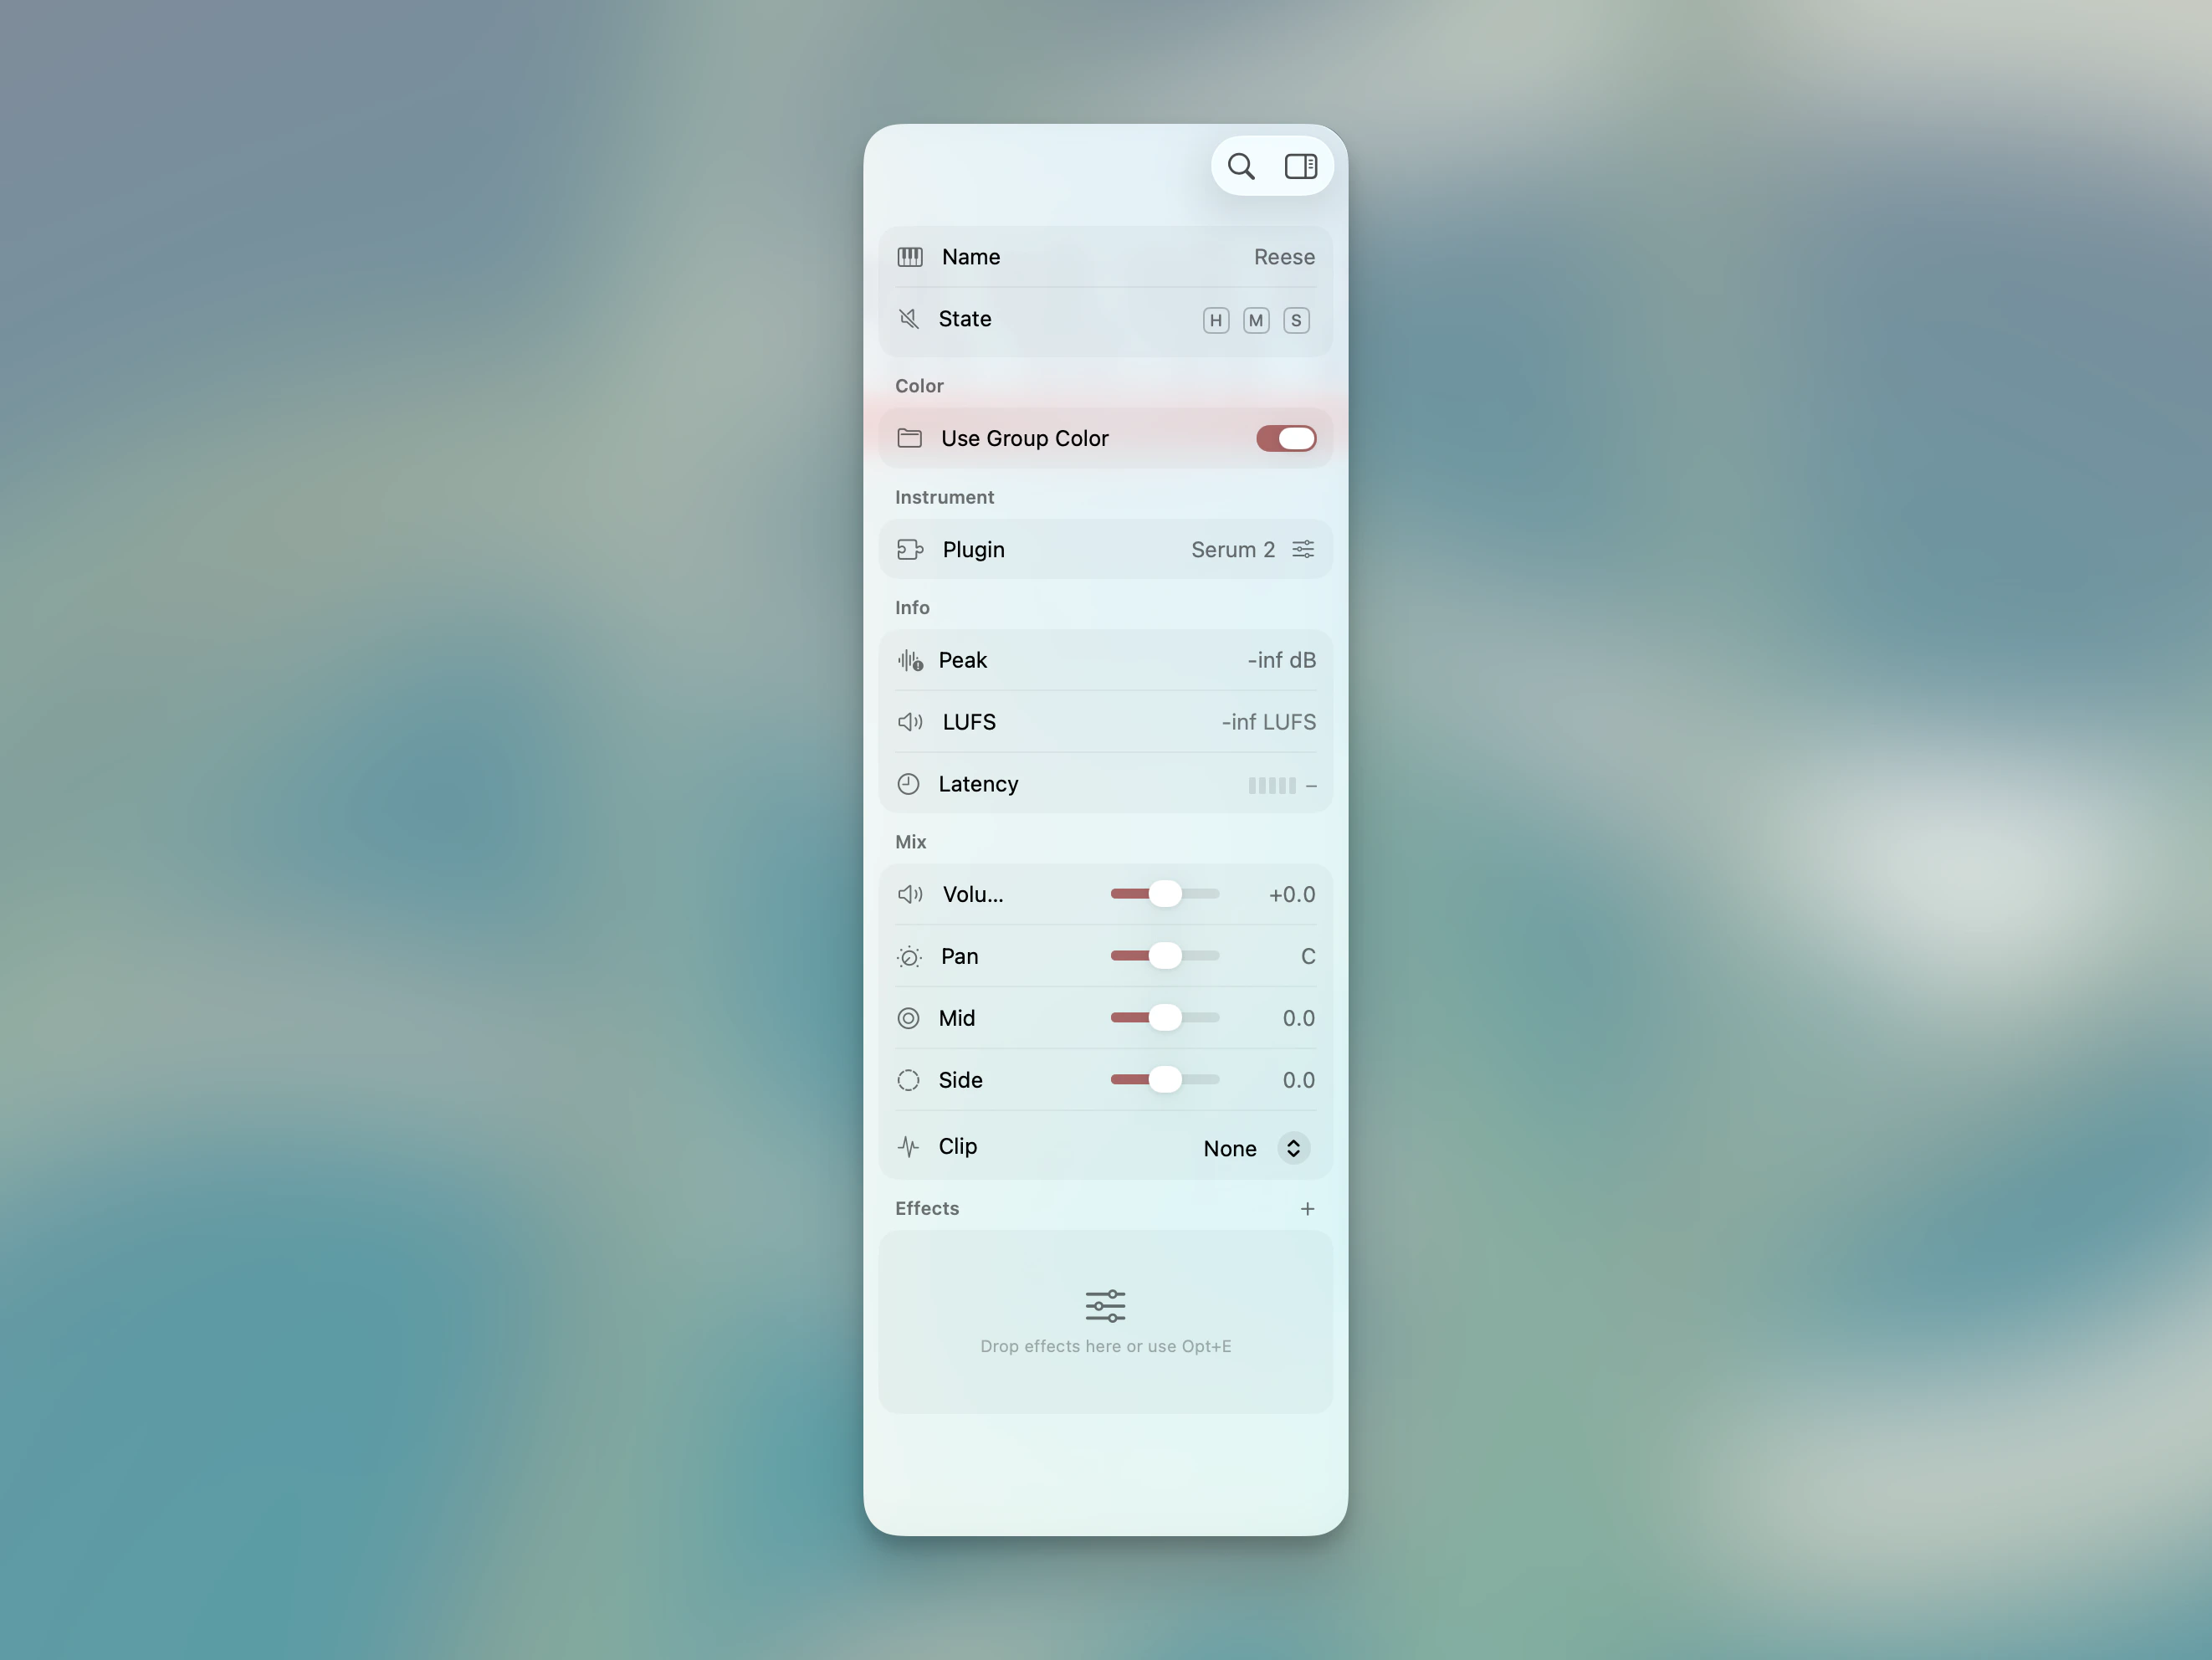
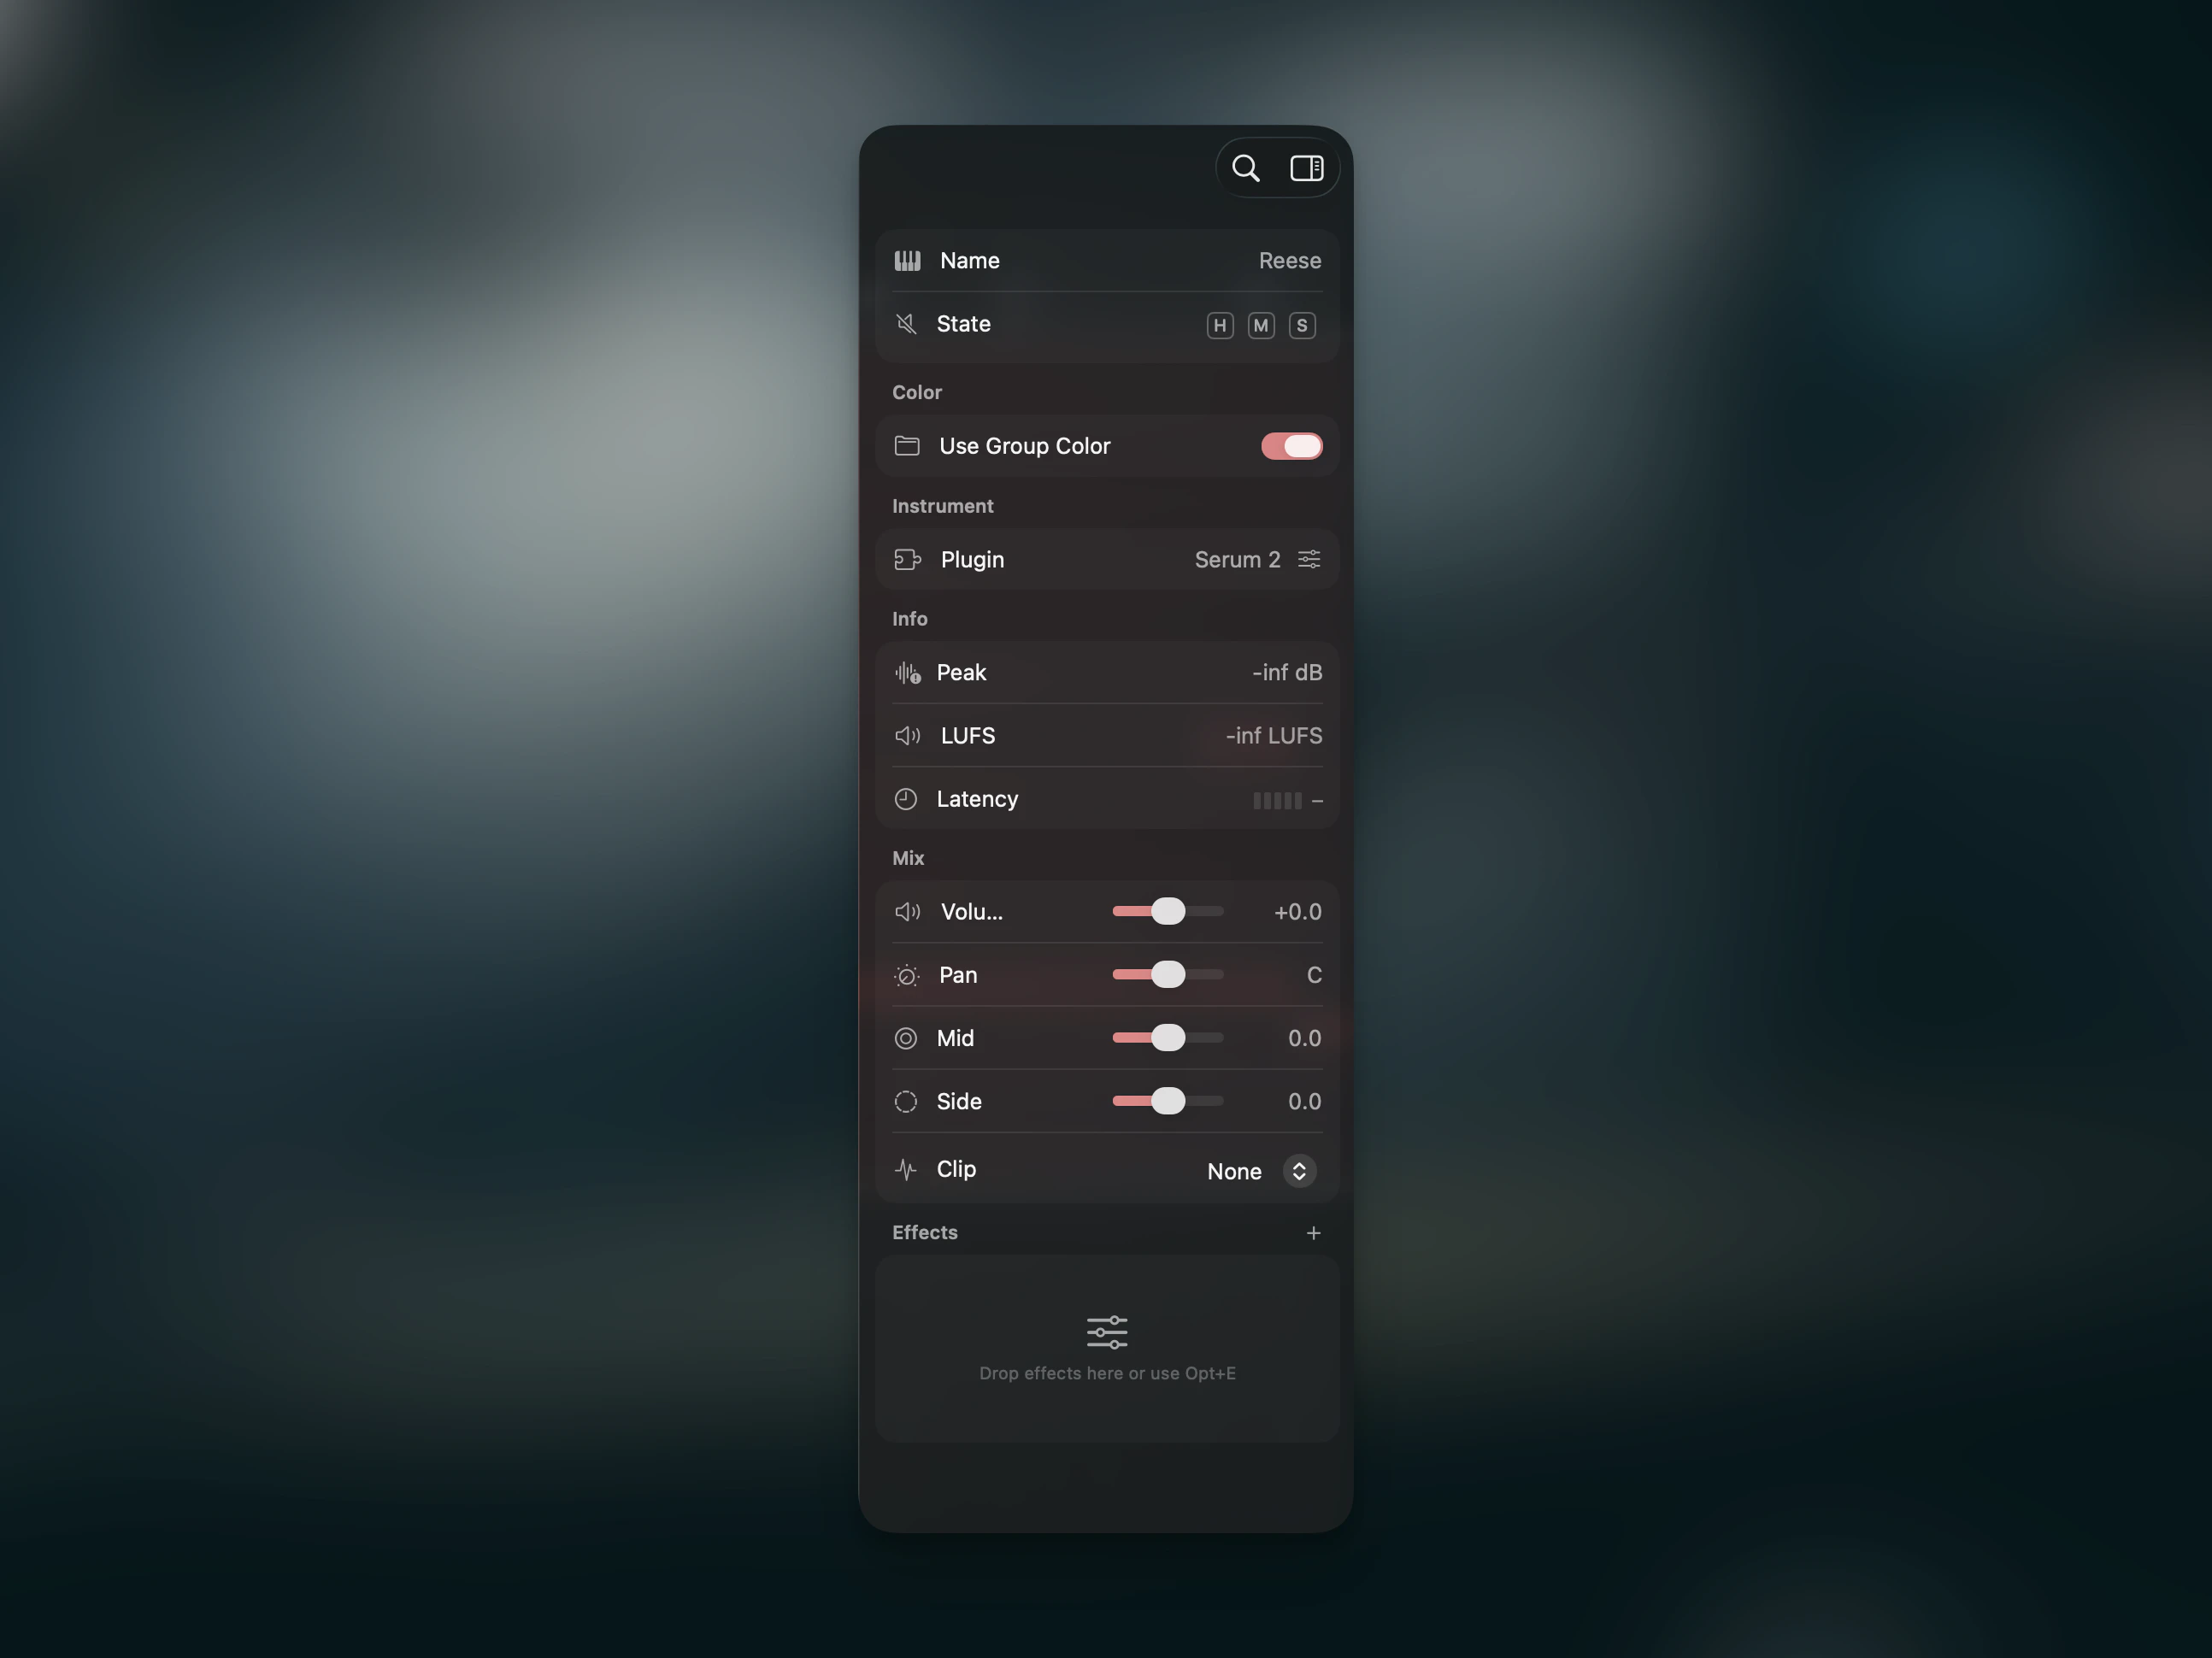
Select a track to open its settings in the inspector panel. The sections from top to bottom:
Track Properties
The track name, plus toggles for Mute, Solo, and Hide.
Color
A 12-color palette for the track. If the track belongs to a group, a Use Group Color toggle appears — when enabled, the track inherits the group’s color.
Source
Shows the assigned audio sample or Audio Unit instrument. For sample tracks with transient markers, additional controls appear:
| Control | Description |
|---|
| Slices | Number of detected slices |
| Decay | Envelope decay applied to all slices |
| Trigger | One-Shot (plays full slice) or Hold (plays while key is held) |
Time Stretch
Available for sample tracks. See Time Stretching for details.
Metering
| Meter | Description |
|---|
| Peak | Peak hold in dBFS (click to reset) |
| LUFS | Integrated loudness (ITU-R BS.1770-4) |
Mix
| Control | Description |
|---|
| Volume | -48 dB to +12 dB |
| Pan | Stereo panning with snap points at L50, Center, R50 |
| Mid | Mid-channel gain for mid-side processing |
| Side | Side-channel gain for stereo width |
| Clip | Clipping curve (None, Hard Clip, Soft Clip, etc.) |
Option+click any slider to reset to default.
Effects Chain
Each track has an effects chain for Audio Unit plugins. Effects are processed top to bottom.
| Action | Input |
|---|
| Add effect | ⌥E or drag from the Effects sidebar |
| Reorder | Drag effects up or down |
| Bypass | Click the bypass toggle on the effect slot |
| Remove | Right-click the effect slot |
For all related shortcuts, see the Timeline Shortcuts reference. Last modified on February 13, 2026